Making your own pillow is both fun and fulfilling. It’s a great way to spruce up your living space. It’s easy for anyone to do, from beginners to those with more experience. This DIY guide will take you through making your pillow step by step. how to make a pillow?
Key Takeaways:
- Making your own pillow is a great sewing project for beginners.
- Choosing the right fabric and stuffing is important for a durable and comfortable pillow.
- Cutting and sewing the pillow involves simple steps like pinning, stitching, and stuffing.
- An envelope-style pillow cover is an easy alternative to zippers or buttons.
- Adding trim or piping can enhance the look of your pillow.
Choosing the Right Fabric and Stuffing
The materials you pick for your pillow are very important. The right fabric and stuffing can make your pillow comfy and last a long time. Let’s look at good fabric and stuffing options for your pillows.
Choosing the Fabric
For making pillows, it’s good to use heavy fabrics. They stand up to wear and keep their shape well. Cotton twill and cotton duck are strong fabrics that come in many colors and patterns.
If you want a lighter fabric, you can strengthen it with iron-on interfacing or batting. This adds more support and stops the fabric from drooping. Batting also makes your pillows feel soft.
Exploring Stuffing Options
Once you’ve picked your fabric, it’s time to choose stuffing. You have several options, each with its own benefits:
- Polyester stuffing: Also called Polyfil, it’s light, cheap, and keeps its shape. Perfect for full and sturdy pillows.
- Foam: Foam is supportive and used in pillows for back support. It’s comfy and firm, a top choice for orthopedic pillows.
- Batting: Good for padding in fabrics and can be used for stuffing. It’s soft and shapes easily, often found in decorative or accent pillows.
- Down: Down makes pillows feel luxurious and soft. It’s lightweight and molds to your head. A great choice for a plush pillow.
Think about what you like and how you’ll use the pillow when you choose. For allergy sufferers, go with hypoallergenic options like polyester stuffing or foam. If you’re not sure, try out different stuffings to see what you prefer.
With the right fabric and stuffing knowledge, you can start making your pillow. Paying attention to these details will help your pillows look good, feel great, and last a long time.
| Fabric | Advantages |
|---|---|
| Cotton twill | Durable and holds shape well |
| Cotton duck | Provides sturdiness, available in various colors and patterns |
| Iron-on interfacing | Reinforces lighter weight fabrics to prevent sagging or stretching |
| Batting | Enhances stability, adds softness and comfort |
| Stuffing | Advantages |
|---|---|
| Polyester stuffing (Polyfil) | Affordable, lightweight, hypoallergenic, retains shape |
| Foam | Offers excellent support, suitable for structured pillows |
| Batting | Can be used as reinforcing layer or stuffing, adds softness |
| Down | Luxurious, soft, molds easily to shape, plush feel |
Cutting and Sewing the Pillow

First, pick the fabric and stuffing you love for your pillow. Now, it’s time to cut and sew. Make a gorgeous pillow easily by following these steps.
Cutting the Fabric
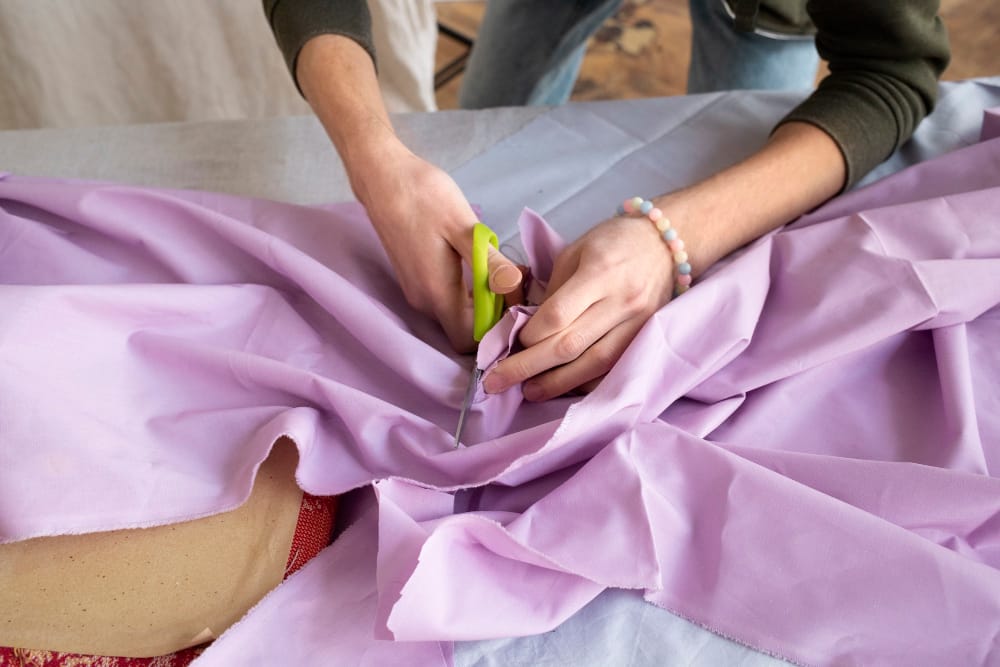
Begin by cutting two fabric squares in your chosen size. Don’t forget to include seam allowance. For an 18″ pillow, cut two 19″ squares. This extra space ensures your pillow won’t be too small after sewing.
Put the fabric squares together, right sides facing. Make sure all edges align perfectly.
Sewing the Pillow
Now, sew around the squares, leaving a gap. This gap is for turning the pillow right-side-out and stuffing it later. Always backstitch at the start and end of your seams.
Clip the corners to make them less bulky and tidy.
Then, turn the pillow the right way from the gap. Gently push out the corners and edges with a chopstick or tool.
Ironing and Stuffing
Your pillow is almost ready to stuff. But first, iron it to get rid of any wrinkles and make it smooth.
Stuff your pillow with your favorite filling. This can be polyester, foam, batting, or down. Add as much or as little as you like for the perfect shape.
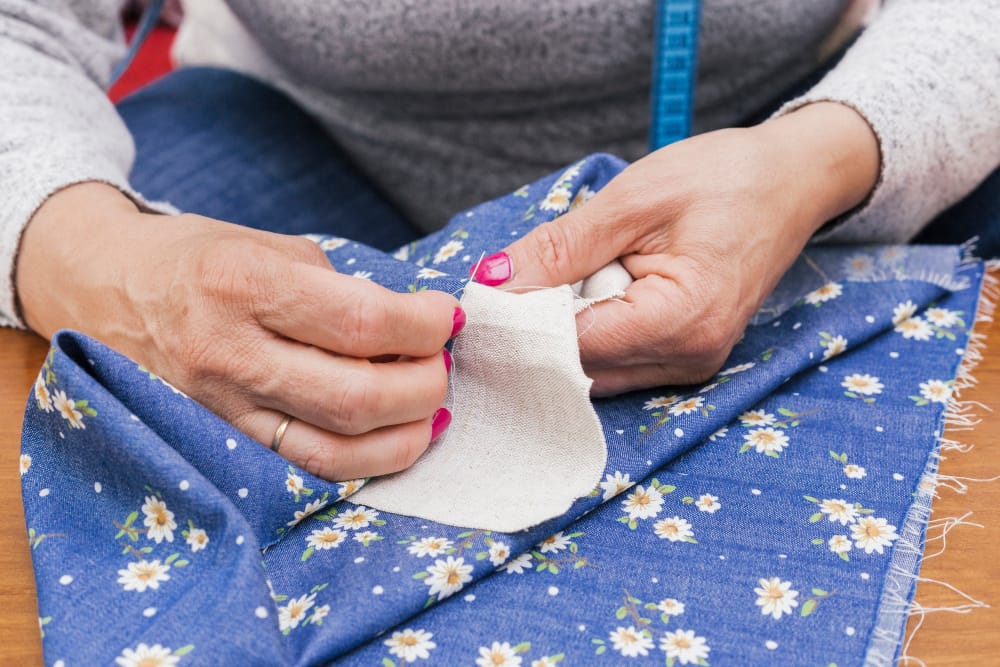
Lastly, close the gap. You can do this by hand or with a sewing machine. Make sure the stitches are strong and match the rest of the pillow.
All done! Your handmade pillow is now ready. It will make your home look cozy and stylish.
Making an Envelope Pillow Cover

An envelope-style pillow cover is an easy sew without zippers or buttons. It’s great if you want a fast project that looks pretty. Here’s how you can make one:
- First, cut one big square of fabric for the pillow front. Pick a fabric that goes well with your home’s style and is the same size as your pillow.
- Next, cut two smaller pieces of fabric for the back of the pillow. They should be as wide as the front but shorter, by about a third.
- Hem one long side of each back piece. This makes the opening neat.
- Put the pillow front on your work area, right side up. Layer the back pieces on top, with the hemmed edges in the middle. They should overlap.
- Pin everything together securely.
- Sew around all four sides with a 1/2″ seam allowance. Backstitch at the start and finish for strength.
- Cut the corners off diagonally. This helps keep the corners sharp without extra bulk.
- Turn the cover right-side-out gently through the envelope opening.
- Put your pillow form inside and fluff it up nicely.
- Your pillow is ready for use, wash, and a cozy spot in your home.
Make a great envelope-style pillow cover for any room with these steps. You won’t need to struggle with removing or washing it, which is great. Also, you can pick fun fabrics to make it uniquely yours. Happy sewing!
Adding Trim or how to make a pillow

Want to make your pillow stand out? Think about adding trim or piping. It’s a quick way to make your pillow special.
There are many types of trim to pick from. Pom-pom trim, tassels, or piping can add color and texture.
If you can’t find the right trim, you can make your own. Use bias strips and fill with cotton. This way, you can match your fabric perfectly.
To start, sew the trim or piping around the pillow’s edge. Use a zipper foot for neat sewing. A straight stitch will hold the trim in place well.
Ensure the trim sits even on all edges. Sew slowly to keep it straight. This makes your pillow look professional and neat.
After sewing the trim, join the pillow’s front and back. Match the edges well to keep the trim looking continuous.
With the trim in place, your pillow is a unique decoration. It will make any space look stylish and sophisticated.
Tips for Adding Trim or Piping to Your Pillow
- Choose trim that goes well with your fabric for a unified look.
- Measure and cut your trim carefully to keep it even.
- Pin it in place before sewing to prevent movement.
- For homemade piping, cut fabric on the bias for more flexibility.
- Using a different color or texture can make a big impact.
By adding trim or piping, your DIY pillow will look better. Whether you buy or make the trim, it will bring a special touch to your home.
Conclusion
Making your own pillows is fun and saves money on home decor. You can show off your style by making custom pillows. Simple sewing and basic materials will help you make pillows that look like they are from a store.
There are many ways to craft pillows. You can choose a simple design or make it fancy with trim. Changing fabrics, colors, and patterns let you match your style at home. A bit of practice, and your pillows will amaze everyone.
Making pillows yourself is not just fun. It’s practical too. You pick the materials, making sure your pillows are durable. It also keeps your wallet happy compared to buying expensive ones. This way, you get beautiful pillows that are also budget-friendly.
So, what are you waiting for? Get your sewing machine and start creating your own pillows. With tips for all skill levels, you can make amazing pieces for your home. Begin your DIY pillow journey today and upgrade your space with your designs.


